Difference between revisions of "Installation/Mac OS/OpenFOAM 2.1.x"
(Having problems previewing things...) |
(Bug fixed. <bash> seems to have some limitations when rendering the ulimit command block) |
||
| Line 27: | Line 27: | ||
[[File:Howto install OpenFOAM v21 Mac-images-006.ppm.png|thumb|500px|center]]</li> | [[File:Howto install OpenFOAM v21 Mac-images-006.ppm.png|thumb|500px|center]]</li> | ||
<li>Now we are installing the GCC 4.6 by entering: | <li>Now we are installing the GCC 4.6 by entering: | ||
| − | < | + | <pre>sudo port install gcc46</pre> |
on the command line. After the operation is done you could check the version and it | on the command line. After the operation is done you could check the version and it | ||
should look like this: | should look like this: | ||
| Line 37: | Line 37: | ||
First, we create a disk image with the Apple Disk Utility. Open <tt>/Applications/Utilities/Disk Utility</tt>. Click New Image: | First, we create a disk image with the Apple Disk Utility. Open <tt>/Applications/Utilities/Disk Utility</tt>. Click New Image: | ||
[[File:Howto install OpenFOAM v21 Mac-images-010.ppm.png|thumb|500px|center]] | [[File:Howto install OpenFOAM v21 Mac-images-010.ppm.png|thumb|500px|center]] | ||
| − | |||
It is important to set as <tt>Format: Mac OS Extended (Case-sensitive,Journaled)</tt>. The sparse image will grow with the place used inside the image. Create a sparse image with the following settings (examples, you could change the values): | It is important to set as <tt>Format: Mac OS Extended (Case-sensitive,Journaled)</tt>. The sparse image will grow with the place used inside the image. Create a sparse image with the following settings (examples, you could change the values): | ||
[[File:Howto install OpenFOAM v21 Mac-images-012.ppm.png|thumb|500px|center]] | [[File:Howto install OpenFOAM v21 Mac-images-012.ppm.png|thumb|500px|center]] | ||
| Line 45: | Line 44: | ||
Use a browser to download the archives of OpenFoam 2.1 and ThirdParty 2.1 from [http://openfoam.org/download/source.php openfoam.org/download/source.php] and copy the archives into the image. Extract the archives by double clicking on each one. | Use a browser to download the archives of OpenFoam 2.1 and ThirdParty 2.1 from [http://openfoam.org/download/source.php openfoam.org/download/source.php] and copy the archives into the image. Extract the archives by double clicking on each one. | ||
| − | |||
Then download the patches created by Bernhard Gschaider, see [http://www.cfd-online.com/Forums/openfoam-installation-windows-mac/95763-1-9-aka-2-1-mac-os-x.html#post340297 here]. | Then download the patches created by Bernhard Gschaider, see [http://www.cfd-online.com/Forums/openfoam-installation-windows-mac/95763-1-9-aka-2-1-mac-os-x.html#post340297 here]. | ||
| Line 53: | Line 51: | ||
Move the appropriate patches into the directories, see below: | Move the appropriate patches into the directories, see below: | ||
[[File:Howto install OpenFOAM v21 Mac-images-018.ppm.png|thumb|500px|center]] | [[File:Howto install OpenFOAM v21 Mac-images-018.ppm.png|thumb|500px|center]] | ||
| − | |||
Change into the OpenFOAM directory and apply the first patche via: | Change into the OpenFOAM directory and apply the first patche via: | ||
| − | < | + | <pre>patch -p1 < *.patch</pre> |
[[File:Howto install OpenFOAM v21 Mac-images-020.ppm.png|thumb|500px|center]] | [[File:Howto install OpenFOAM v21 Mac-images-020.ppm.png|thumb|500px|center]] | ||
| Line 65: | Line 62: | ||
Apply the second patch for the compiler, in this case we use the GCC 4.6 so choose the right patch by typing: | Apply the second patch for the compiler, in this case we use the GCC 4.6 so choose the right patch by typing: | ||
| − | < | + | <pre>patch -p1 < OpenFOAM-2.1.x-Mac-gcc46.patch</pre> |
| + | |||
Open the file <tt>/etc/bashrc</tt> with a text editor, e. g. Text Wrangler or <tt>pico</tt> or <tt>nano</tt> and add these lines: | Open the file <tt>/etc/bashrc</tt> with a text editor, e. g. Text Wrangler or <tt>pico</tt> or <tt>nano</tt> and add these lines: | ||
| − | < | + | <pre>ulimit −n 1024 |
| − | export WM_NCOMPPROCS=20</ | + | export WM_NCOMPPROCS=20</pre> |
| + | |||
The first entry is to increase the number of files which one process may open at a time; the second you should set to the number of processes your CPU could manage in parallel, e. g. 4, 8, 16, ... | The first entry is to increase the number of files which one process may open at a time; the second you should set to the number of processes your CPU could manage in parallel, e. g. 4, 8, 16, ... | ||
It should look like this: | It should look like this: | ||
[[File:Howto install OpenFOAM v21 Mac-images-026.ppm.png|thumb|500px|center]] | [[File:Howto install OpenFOAM v21 Mac-images-026.ppm.png|thumb|500px|center]] | ||
Revision as of 10:22, 1 April 2012
This is a transcript and subsequent improvements on the guide made by Michael Plagge. The original PDF: Compiling Manual OpenFOAm Mac OS X.pdf
Contents
1 Basic requirements
This manual assumes that the reader is familiar with Mac OS X, the installation of applications as well as with basic commands in the Terminal.app. This manual covers the installation of OpenFOAM on Mac OS X 10.6.8, also called Snow Leopard. What do you need?
- Apple Mac OS X 10.6.8
- Apple Developer Tools 3.2.6 (delivered on the DVDs you’ve got with your mac, or you can download this here: developer.apple.com)
- MacPorts software, you can download this here: www.macports.org
For downloading the Apple Developer Tools you might have to become a member of the Apple developer site, it is for free yet.
How do I know if the above metioned software is already installed?
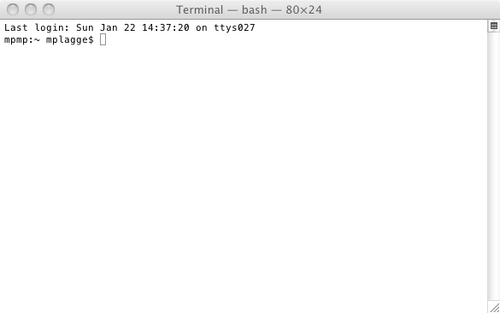
- Open the Terminal.app you find in your /Applications/Utilities folder:

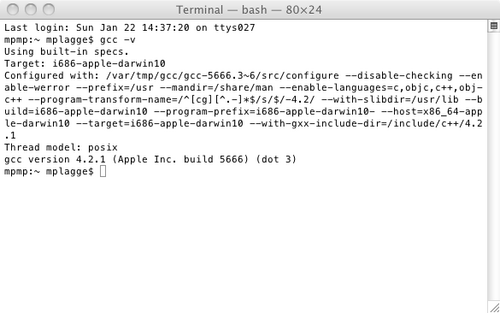
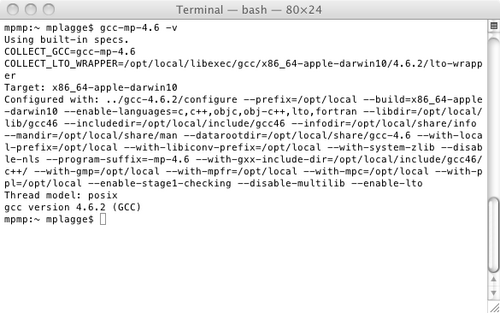
- Type gcc -v, the output should look like this:
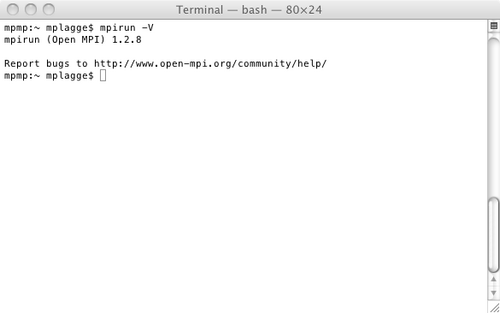
- Check for the MPI installation as well by typing mpirun -V, please note that the
option is different (-V instead of -v):
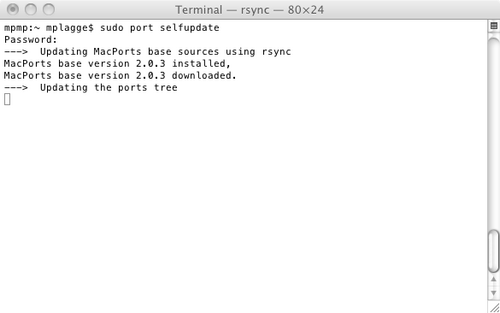
- After installing the MacPort software, see www.macports.org/install.php for
installation guide, we check the installation with sudo port selfupdate, you have to
confirm the sudo with your password:
- Now we are installing the GCC 4.6 by entering:
sudo port install gcc46
on the command line. After the operation is done you could check the version and it should look like this:


2 Installing and compiling OpenFOAM 2.1 with GCC 4.6 and OpenMPI 1.5.4
First, we create a disk image with the Apple Disk Utility. Open /Applications/Utilities/Disk Utility. Click New Image:

It is important to set as Format: Mac OS Extended (Case-sensitive,Journaled). The sparse image will grow with the place used inside the image. Create a sparse image with the following settings (examples, you could change the values):

Go to the directory of the image by typing cd /Volumes/OpenFOAM-v2.1:

Use a browser to download the archives of OpenFoam 2.1 and ThirdParty 2.1 from openfoam.org/download/source.php and copy the archives into the image. Extract the archives by double clicking on each one. Then download the patches created by Bernhard Gschaider, see here.
Copy or move them into the image. Your image content should look like this:

Move the appropriate patches into the directories, see below:

Change into the OpenFOAM directory and apply the first patche via:
patch -p1 < *.patch

The end of the output should look like this:

Add executive rights to a python script like this:

Apply the second patch for the compiler, in this case we use the GCC 4.6 so choose the right patch by typing:
patch -p1 < OpenFOAM-2.1.x-Mac-gcc46.patch
Open the file /etc/bashrc with a text editor, e. g. Text Wrangler or pico or nano and add these lines:
ulimit −n 1024
export WM_NCOMPPROCS=20
The first entry is to increase the number of files which one process may open at a time; the second you should set to the number of processes your CPU could manage in parallel, e. g. 4, 8, 16, ...
It should look like this:
